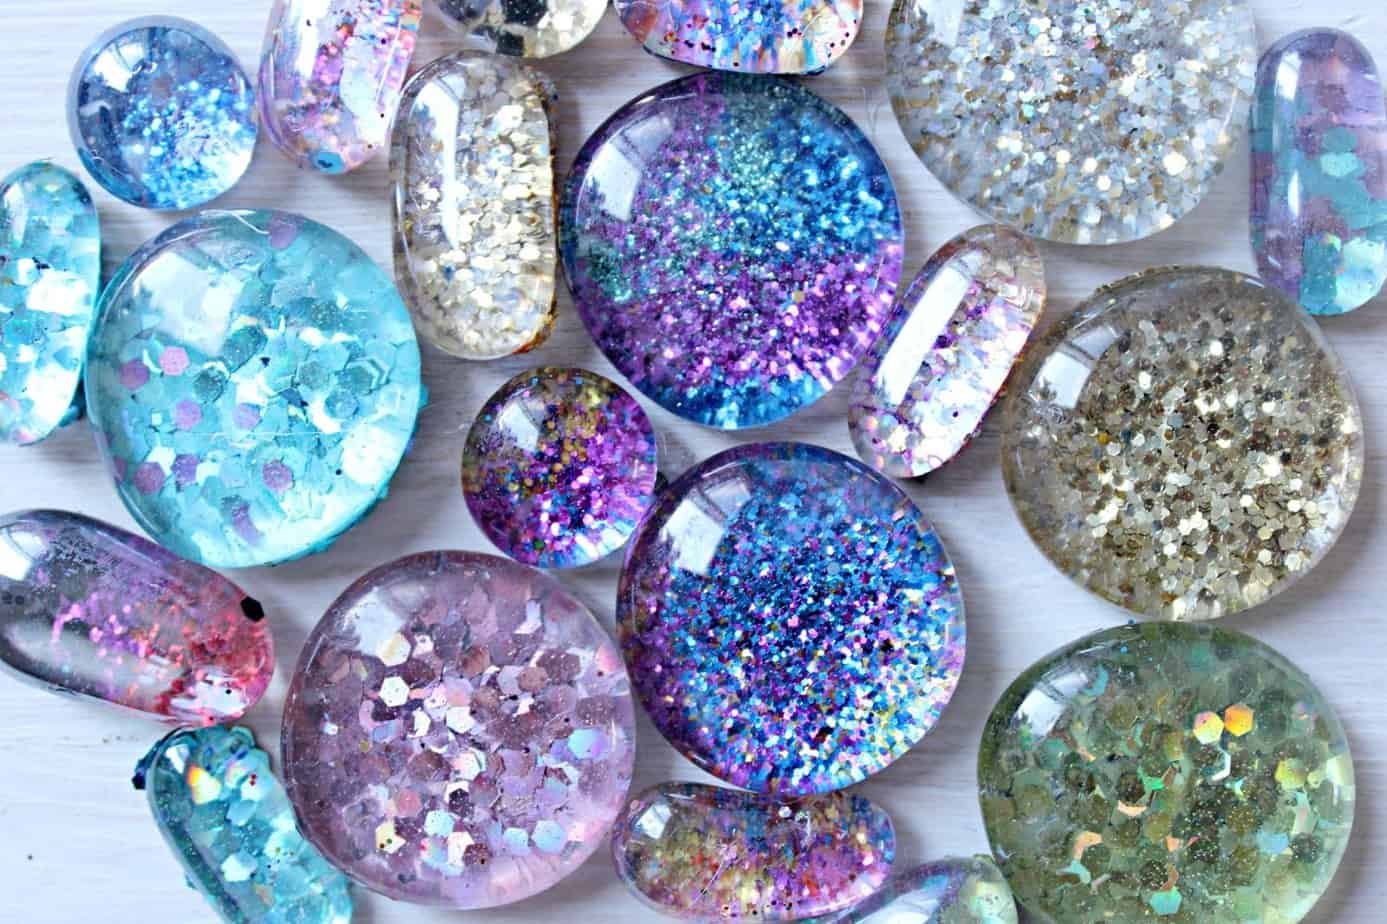
Easy DIY Glitter Magnets
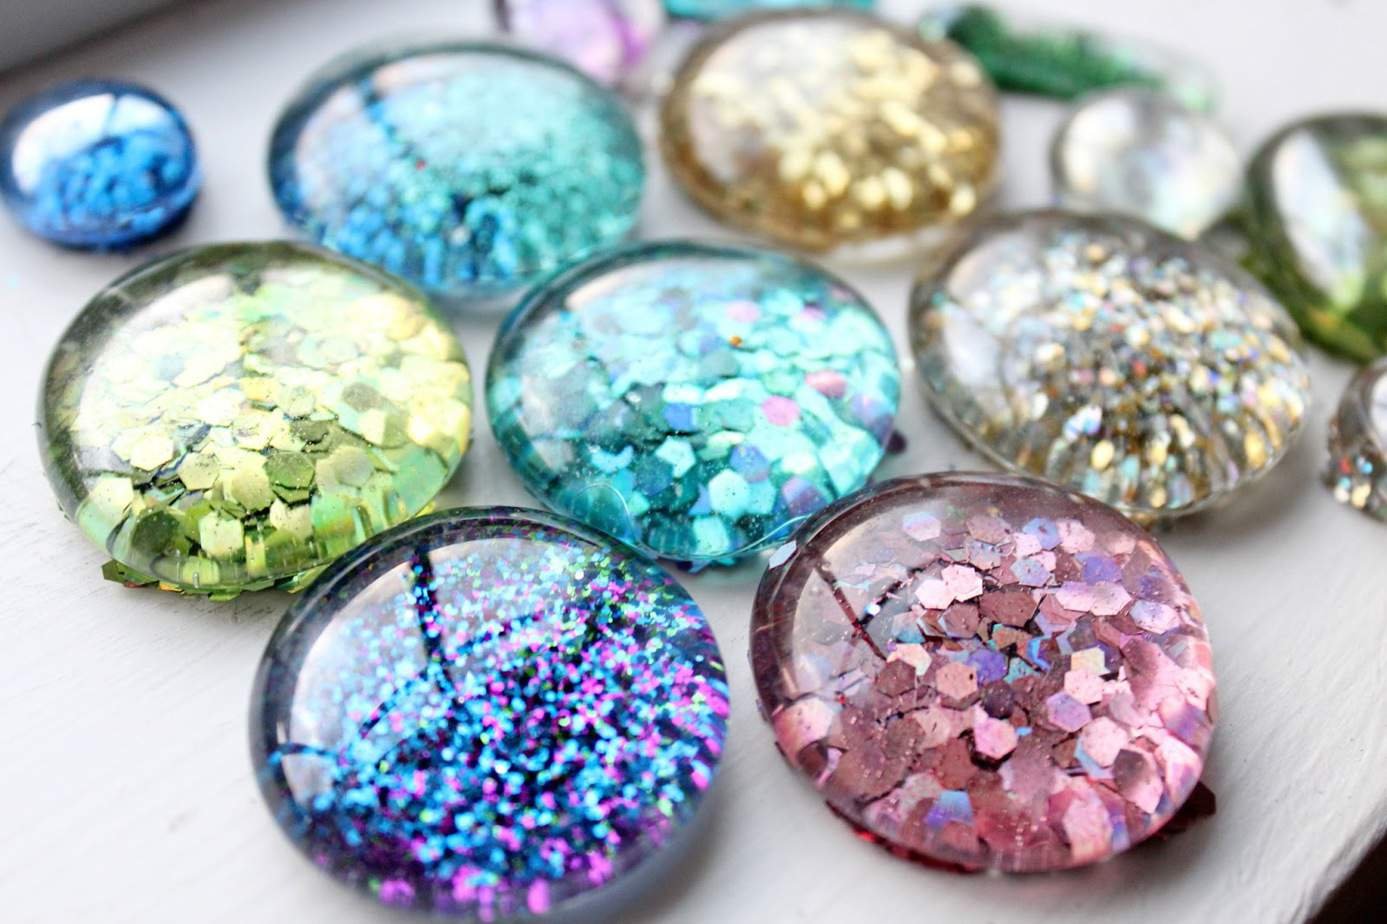
At Stephen’s Place, we care very much about independence and supporting individuality. Our residents have their own apartments that they decorate how they choose and sometimes those choices lead to glitter. With this easy project, your clan will be able to create sparkling masterpieces that would turn heads at the likes of Sotheby’s. Here's what you'll need for glitter magnets: MagnetsHot glue and hot glue gunMod PodgePaint brushesGlass gemsGlitterPaper platesDisposable tablecloth or paperStep 1: Make sure you spread a disposable tablecloth or paper down to counteract the glitter fallout. Pour out some of the Mod Podge onto a paper plate Step 2: Pour out some of the Mod Podge onto a paper plate.Step 3: Dip the flat side of the gems into the glue.Step 4: Sprinkle glitter onto the sticky side of the gems. Once your gems have a satisfactory amount of sparkle, let them dry for 2 hours.Step 5: Once the gems are dry, tap them against the clothed table. Take your paint brush and spread a thin layer of Mod Podge over the gem to seal in the glitter. Let that dry for 2 hours again.Step 6: Check to make sure no glitter comes off your gems. If there’s a ton of excess, repeat step 5 until the glitter is completely sealed in. Step 7: With the flat side facing up, start gluing the magnets onto the backs of the gems using a hot glue gun. Step 8: Once the hot glue has completed its task, stick those beautiful gems up on your fridge.For more activities, check out 6 Crafts for Adults with Developmental Disabilities.

